

One of the most advanced features of the EAGLE6 computer for telescopes is its integrated Lights-out Management (LOM) system—a hardware-based solution that provides full remote control of the EAGLE even when the Windows operating system is powered down. Whether you’re operating your telescope from a remote observatory or simply want to avoid stepping into the cold to turn on your gear, the LOM is a game-changer for streamlining your astrophotography sessions. While the EAGLE’s LOM is typically accessed via a wired Ethernet connection, it’s also possible to connect wirelessly using a compact and cost-effective wireless access point. This article explains how to set up a wireless bridge that enables WiFi access to the EAGLE’s Lights-out Management, offering greater flexibility for any telescope setups.
What is the Lights-out Management (LOM) system?
The LOM interface on the EAGLE6 is an independent system that allows you to monitor hardware status, power the system on or off, and perform other management tasks—completely separate from the main operating system. It functions similarly to management tools found in enterprise-grade servers. Importantly, the LOM remains active as long as the EAGLE is supplied with 12V power, even when the system itself is powered off. This allows you to turn the EAGLE on remotely without pressing the physical power button—perfect for automated observatories or cold nights at the telescope.
Why use wireless access for LOM?
In fixed observatories, a wired Ethernet connection to the LOM port is often straightforward to set up. However, you can benefit greatly from eliminating cables. With a wireless bridge, you can create a wireless access dedicated to the EAGLE’s LOM port, allowing you to:
• Turn on the EAGLE remotely over WiFi.
• Check system status even if Windows hasn’t booted.
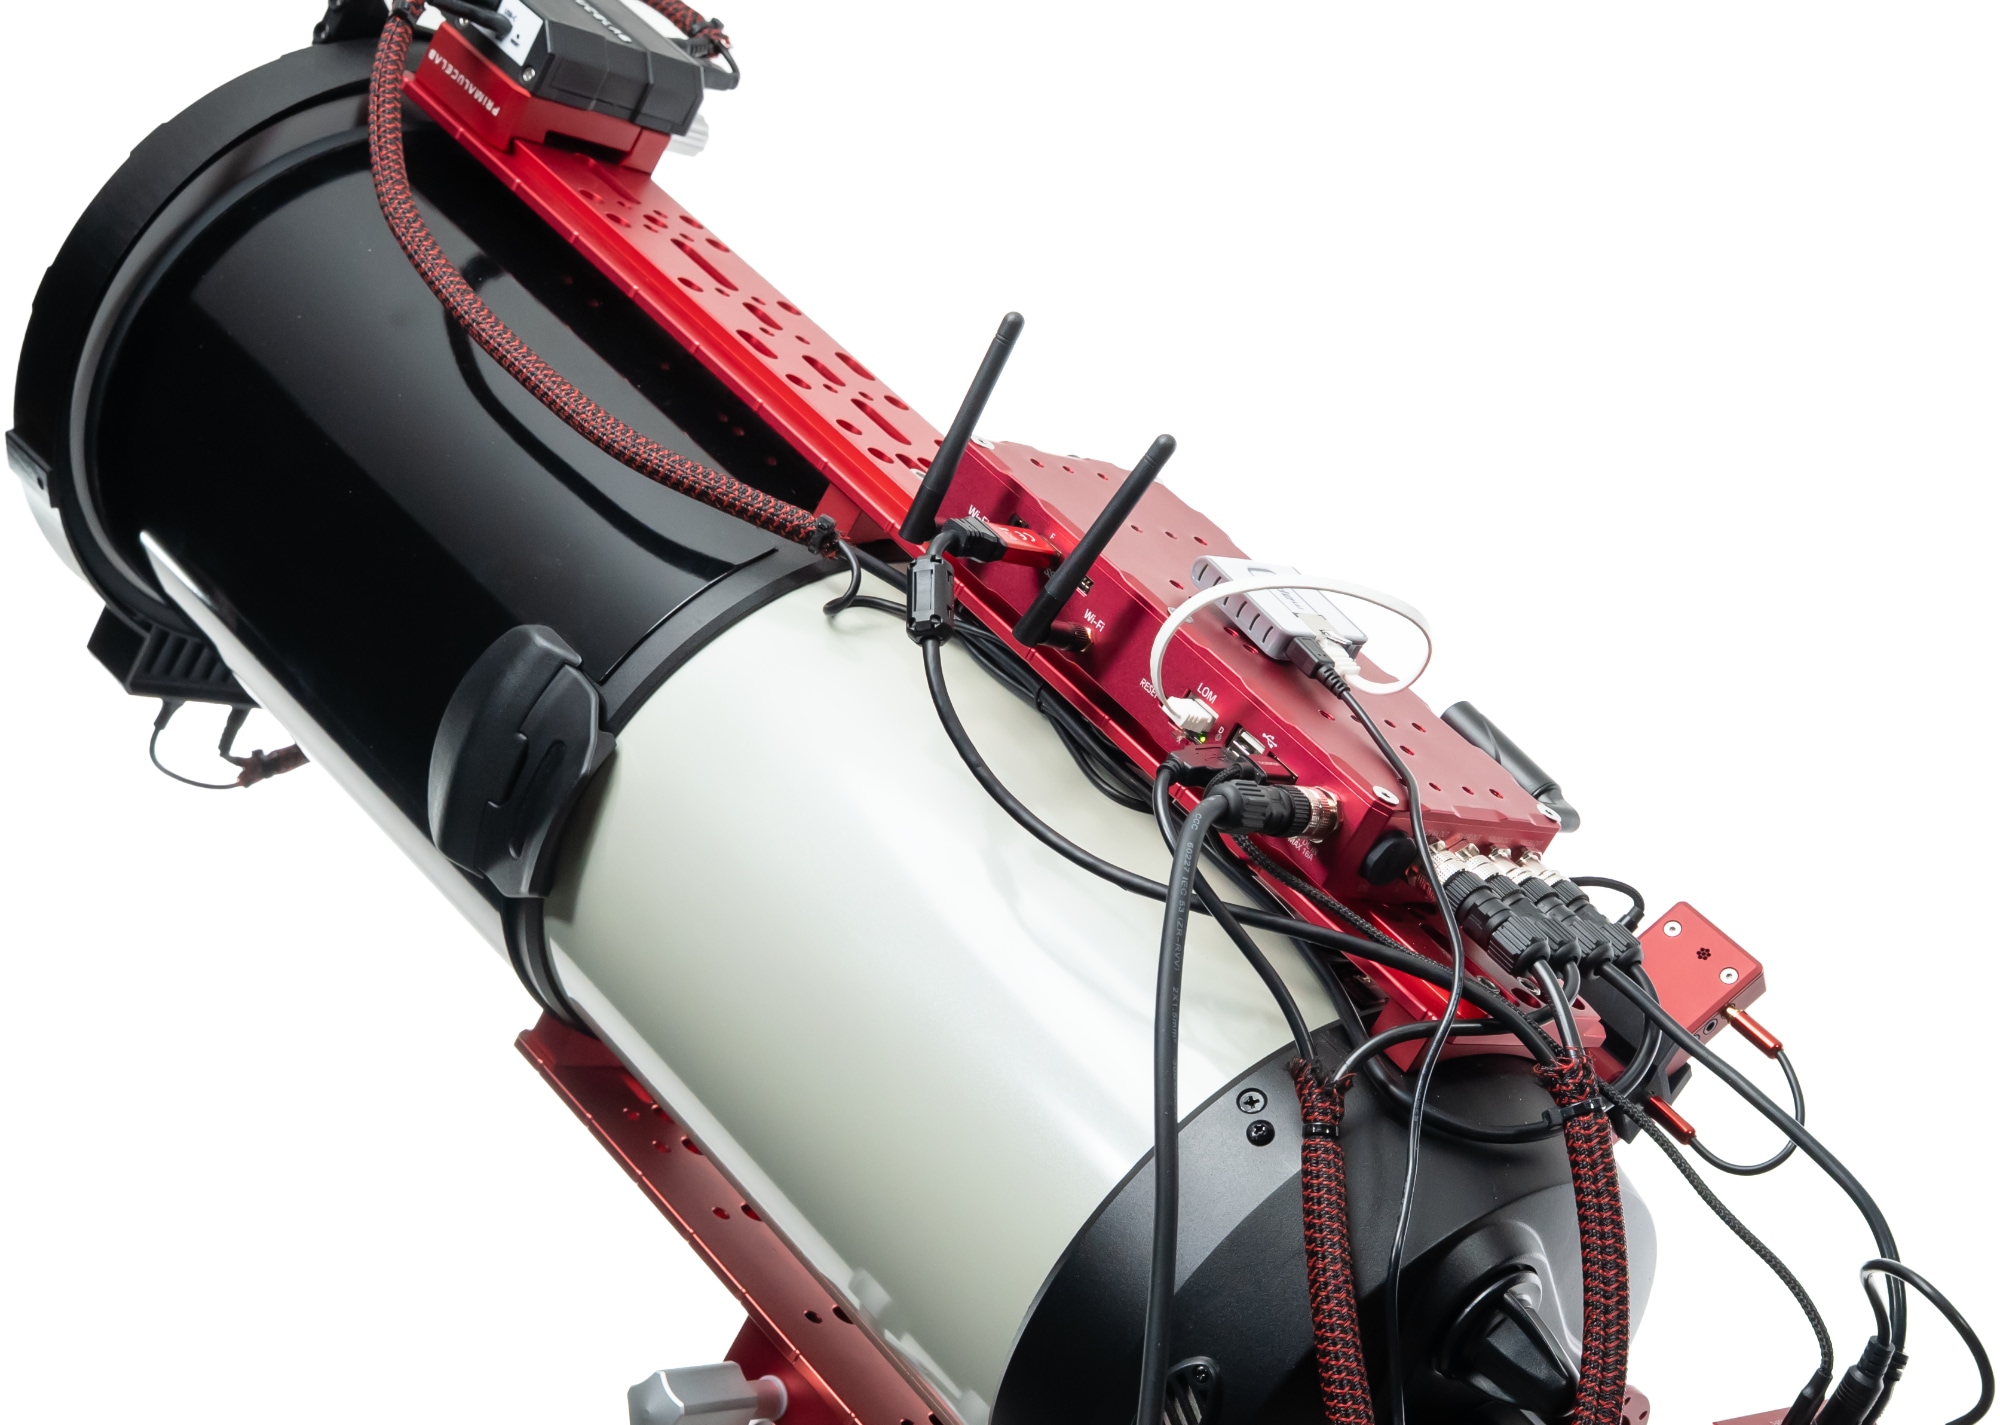
In our demonstration, we used the MikroTik mAP Lite—a compact, lightweight wireless router that supports bridge mode. It’s small enough to mount directly on your telescope, and it offers advanced configurability suitable for LOM bridging. However, any wireless bridge device with similar capabilities should work as long as it supports proper routing and DHCP.
Before wiring everything together, here are the key configuration steps for your wireless bridge:
- Create a custom SSID for the LOM WiFi network—something recognizable like EAGLE6PRO0001LOM.
- Enable a DHCP server on the wireless interface and bind it appropriately.
- Assign static IPs:
• One in the DHCP range for the wireless side.
• One within the EAGLE LOM IP class (e.g. 192.168.0.x) for the Ethernet port. - Set the correct gateway in the DHCP configuration.
- If needed, configure NAT rules to ensure packet forwarding between the interfaces.
Powering the wireless bridge
Depending on your setup, you have several options for powering the wireless device:
- Fixed Observatory: Power the wireless bridge using a separate 12V adapter or one of your observatory’s power outlets. Ensure the EAGLE remains connected to 12V power at all times so the LOM stays responsive.
- Using the EAGLE: Connect the wireless bridge to one of the EAGLE’s 12V power output ports. In the EAGLE Manager X software, go to Advanced Settings and set that port to stay ON after shutdown and before startup—ensuring the bridge stays powered when the system is off.
- Portable Setup: Use a 12V field battery with USB port to keep the bridge active while on the go.
Wirelessly connecting to the LOM
Once everything is in place:
- Join the dedicated WiFi network from your laptop or mobile device.
- Enter the static LOM IP address (default is 192.168.0.222) into your browser.
- You’ll reach the LOM web interface where you can power on the EAGLE, check system information, and more.
After powering on the EAGLE, simply switch over to the EAGLE’s main WiFi network and begin your astrophotography session using EAGLE Manager X. You can then remotely power other devices like your mount, camera, and accessories.